 Skip to content

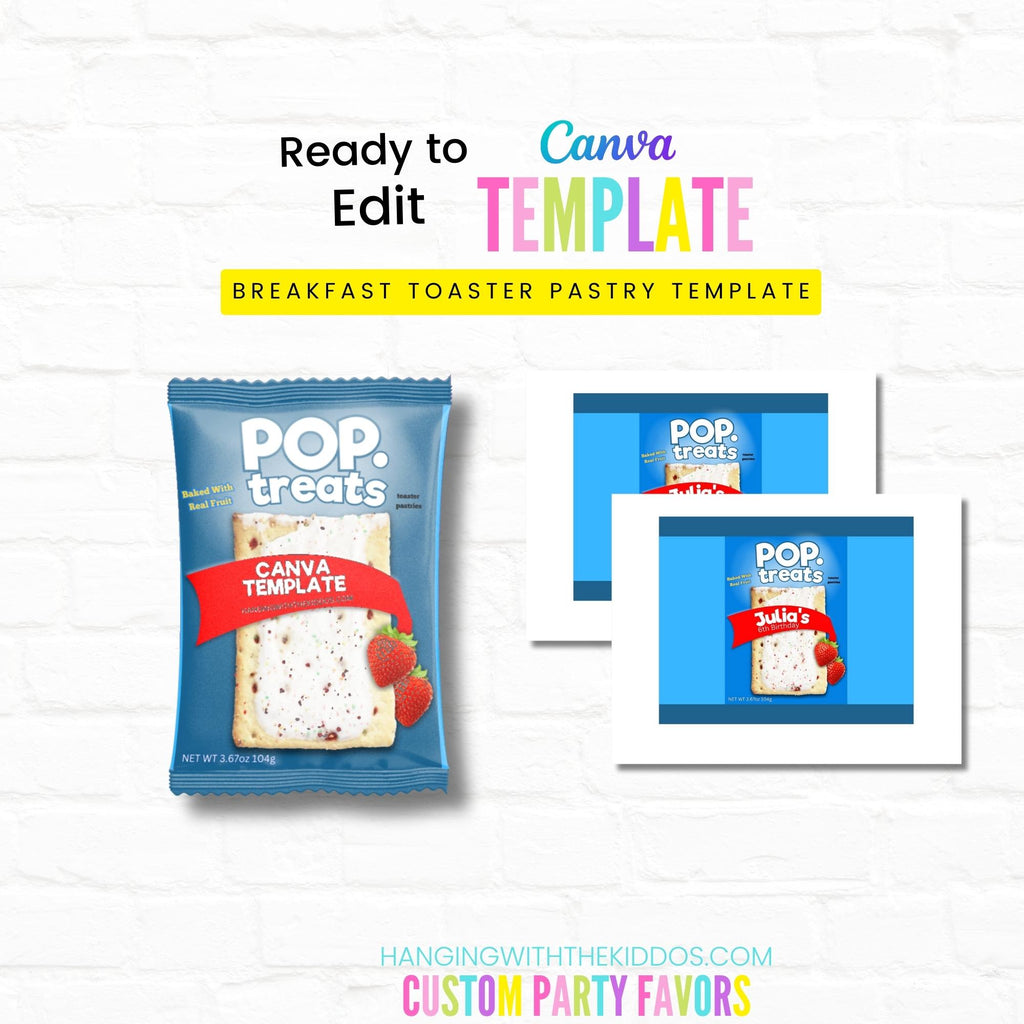
Video Tutorial: How to Make Custom Party Favors - Pop Tart Wrappers with Canva for Kiddos Birthday Parties or Other Events
Hey there, creative party planners! In this video tutorial, we'll show you how to make custom Pop Tart wrappers using Canva. These personalized wrappers are perfect for kids' birthday parties or any other special event. Let's get started!
Materials Needed:
- Canva account (free or pro)
- Pop Tarts
- Printer
- Photo paper or your choice of copy paper
- Scissors or paper trimmer
- Double-sided Tape or Hot Glue gun
Step 1: Create a New Design in Canva
First, log in to your Canva.com account and sign in to your account or create a free account if you don't already have one. You can also sign up for a free account Here and Try Canva Pro Free for 30 Days.
Once you're logged in, click on "Create a design" in the top-left corner of the screen and then select "Custom dimensions." Enter 8.5 by 11 inches as the page size, and click the "Create design" button.
Select "Elements," scroll down to lines and shapes, and choose the square shape. Add it to your page, and create labels using the measurements given in the video tutorial.
Step 2: Customized the Labels
Now it's time to get creative! Choose a background color or pattern that matches the theme of your party or event.
Add Text and Images
Add the text you'd like to appear on your Pop Tart wrapper, such as your child's name, the event name, or a fun message. You can customize the font, size, and color to match your theme. Also, you can upload and add any images or clipart that you'd like to include on your design.
Step 4: Save and Download Your Design
Once you're satisfied with your custom label design, click the Download button in the top-right corner of the page.
Choose the "PDF Print" file format for the best printing quality.
Step 5: Print and Cut Out Your Wrappers
Print on glossy photo/brochure paper for the best results. Trim your wrappers to size using scissors or a paper cutter.
Step 6: Wrap Your Pop Tarts
Keep the Pop Tarts in their foil wrappers. Lay your custom wrapper face down, and center the Pop Tart on top of it.
Fold over the left and right flaps of the custom wrapper, and use double-sided tape or hot glue to attach the right side to the left.
Seal the bottom and top closed.
Optional Step: For added texture and a realistic look, use a paper crimper to crimp the top and bottom of the wrapper.
If you want to save time and go straight to designing, Glub the customizable template here.
And there you have it! Custom Pop Tart wrappers that'll add a personal touch to your kiddos' birthday party or any other special event. Enjoy the smiles and delight when your guests see these creative and fun party favors!
Pin & Share This DIY
